


'Firstly, I would like to thank all the members for their nice comments after Part One. Now my model was more or less complete, the rigging between the wings, undercarriage and tail feathers were in place, so it was time to do some more painting.


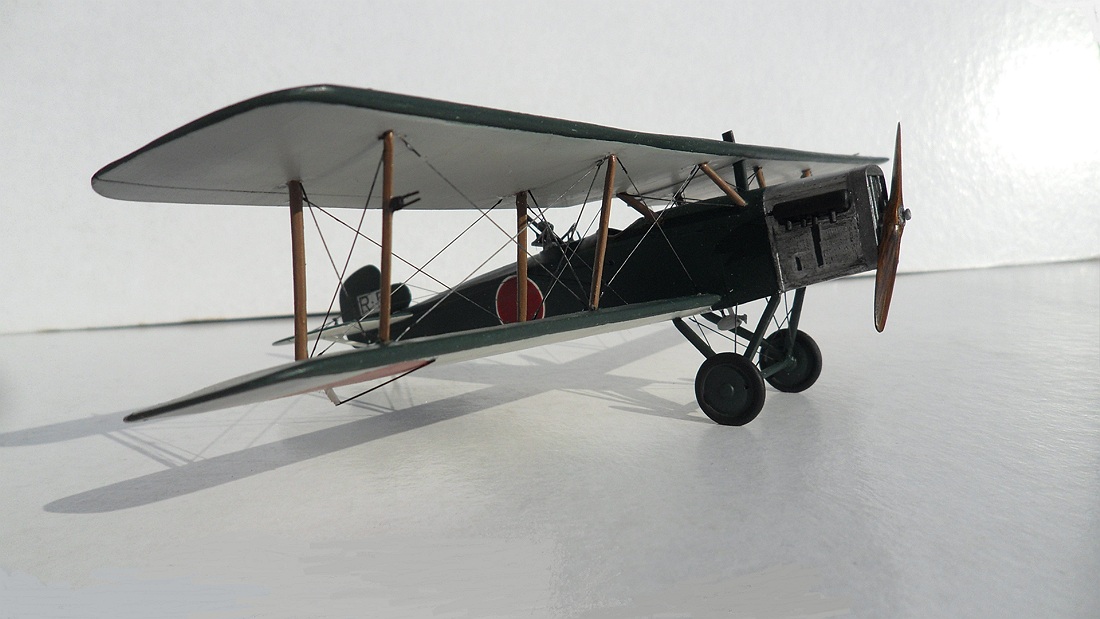
'I always use an undercoat of Polly S Acryl dark green first, then a final coat of JNAF dark green. The sides of the fuselage were left unpainted to avoid any damaged through handling as you can see on the first pictures. All painting was done with a brush as it is hardly possible to tape and spray these biplane models without damage. Only on the wing leading edges I used a small piece of tape to get a straight line between the green and grey. The engine panels and the radiator were painted silver, with a drawing pencil, I added some accents for the louvres and panel lines.

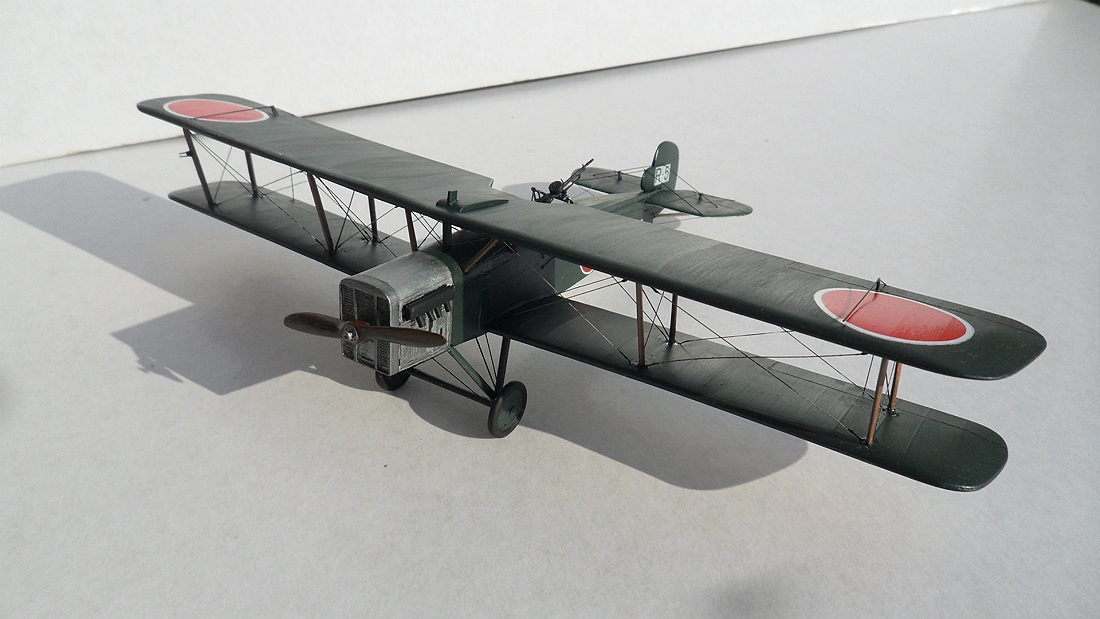
'Now I could start with some smaller details. First I made a scarff- ring for the second cockpit. Again I had to use photos of other aircraft; I modified a leftover Vickers MG from a Roden RAF Be-2C; and Francillon's book was a great help in this.

'The next step was the aileron and rudder cables and their levers. On the wings they are placed over the Hinomaru, so I used some decals from the spare box and placed them on the wings. The rudder cables were a bit more complicated, first I had to paint the fuselage in green, then wait a few days, and yes: ....watching the paint dry....:-)


'After the fuselage Hinomaru, I could start the tricky job of getting the rudder cables in the right place. A lot of patience was required here, as there were only very small spots to apply the CA glue. And those cables, you want them straight and tight. I had to print the white squere with black number on the rudder on my PC.

'Now the end was in sight, I added a small indentification plate on the left side of the fuselage and as finishing touch, a small wind driven generator was placed between the undercarriage legs. The rigging of the undercarriage was made of stretched sprue. So finally my model was finished. I hope you enjoy the pictures ! After taking the final photographs, I dicovered a loose aileron- cable on the upper left wing! That's fixed now....(smile).'
With special thanks to John for sharing the details and images of his impressive scratch build and for his patience in waiting for them to appear here.
Image credit: All photos © 2022 John Haas
10 comments:
A wonderful result John! Precise modelling and a beautiful finish - hard to believe that it's all scratch-built. Thanks for sharing this gem.
John, master modeling at its finest. Thank you for sharing with us. Fred
A beautiful piece of work! Your brushing skills are fantastic, I can never get that kind of coverage anymore.
Really great construction, and thank you for sharing this with us sir.
Warren
Great job John! It looks excellent.
Makes my builds pale in comparison. Well done.
Woody
Amazing work.I have long planned a few aircraft that I was going to scratchbuild and never pulled the trigger. This takes special talent,patience, ect. Like Warren said the brush painting looks great. I dont know if I would have the guts to allow myself to apply the final colors with a brush knowing my ham-fisted skills after the effort of constructing an aircraft from scratch. Applause.
Dear readers,
Many thanks for your kind comments !
Regards
John Haas
This is a beautiful thing to see, John. Thanks for showing it off, and thanks to Nick for presenting it - inspiring!
Mark
Absolutely Brilliant!
Another fine job of it. Thanks for sharing it, John & Nick.
Post a Comment