Tuesday, 27 January 2015

A Gaggle of Old Jacks and Random Thoughts ~ Part Three


Better late than never, they say. Even so it was a shock to discover that Parts One and Two (updated) of this brief kitography of the Sammo Hung of Japanese fighters were penned in 2011 and not "last year" as my self-delusion was fondly reassuring me. Time flies. In this episode I have deliberately avoided navigating the plethora of Hasegawa 1/48th Raiden kit issues on the grounds that to sprue-fondlers of a certain vintage they are not really 'Old Jacks'. 

I've never had the chance to examine the Imai Raiden issued to 1/50th scale in 1964 but the box art (above) is splendid. The work of Yoshiyuki Takani, perhaps best known for his early Tamiya box art of complete battle scenes with Tiger tanks and desperate looking last ditch groups of Wehrmacht soldiery - that sort of thing. But he was versatile and also painted the art on the big scale Doyusha fighters, some early Fujimi art and even the art for a few of the Airfix-Eidai issues as well as the more recent robotic transforming stuff. Very expert at breathing life into the human form and in the composition of men and machines. This one was unusual and evocative in having the Raiden grounded with its pilot gazing up at the sky in anticipation of combat. Whether he is watching in admiration as another Raiden is put through its paces or in frustration at the contrails of incoming B-29s as his aircraft is re-fuelled we shall never know, but there is no sense of urgency in the picture. 

As well as their 1/50th scale aircraft range Imai originated a range of 1/144th scale Japanese twins that were subsequently re-released by Hasegawa. The company went out of business in the early 1980s and their larger scale kits are little known and seldom seen now.


Sanwa/Tokyo Plamo also released two Raiden kits to 1/50th scale (above), one of them being a 'visible' with the airframe in transparent plastic to show internal details such as engine, cockpit, guns, etc. That kit seems to be extremely rare and I have never seen or examined one.


In 1964 Tamiya issued a Raiden in 1/50th scale as kit # 3 (above) with identical box art to their 1/72nd version, depicting a fighter of the 302nd Ku streaking past a crippled B-29. A second Raiden kit, this time to 1/48th scale, was issued in 1973. Burns* lists these as the same kit but I don't think that is the case. The Tamiya Raiden has endured in their range to the present day and become something of a classic with box art for the standard edition that has also remained the same.

* Burns, John W, 'WW2 Aircraft Kits In Plastic' (Kit Collector's Clearinghouse 1993)


That depicts Lt j.g. Sadaaki Akamatsu's Raiden of the 302nd Ku scudding peacefully alone through a cloudy sky, perhaps in response to the proto-Mumsnet programme of feminisation that had persuaded manufacturers to remove all hint of war from their boxes. The kit came with a sheet of two colour profiles by Rikyu Watanabe and markings for three examples:- ヨD-1195 the subject of the box art, ケ-1105 of the Genzan Ku and 352-37 a  lightning bolt emblazoned Raiden of the 352nd Ku at Kanoya in April 1945 identified as flown by Lt j.g. Yoshihiro Aoki. The linear presentation of the code and individual aircraft number '37' was consistent with pictorial presentations at that time, for example the K Hashimoto profile in the 1973 Famous Aircraft of the  World (FAOW) monograph on the type, and it was repeated in the Maru Mechanic book of 1977. The 1985 re-print of the FAOW title included a profile by Shigeru Nohara displaying the correct '3' over '52' presentation with individual aircraft number '20' that was subsequently confirmed by photographs.


A  motorised version of the kit with new box art was released in 2001 (below), this time featuring 352-20. But curiously whilst this showed the correct tail code of 352-20 with the '3' over the '52', the incorrect code and presentation in the original kit has never been corrected.


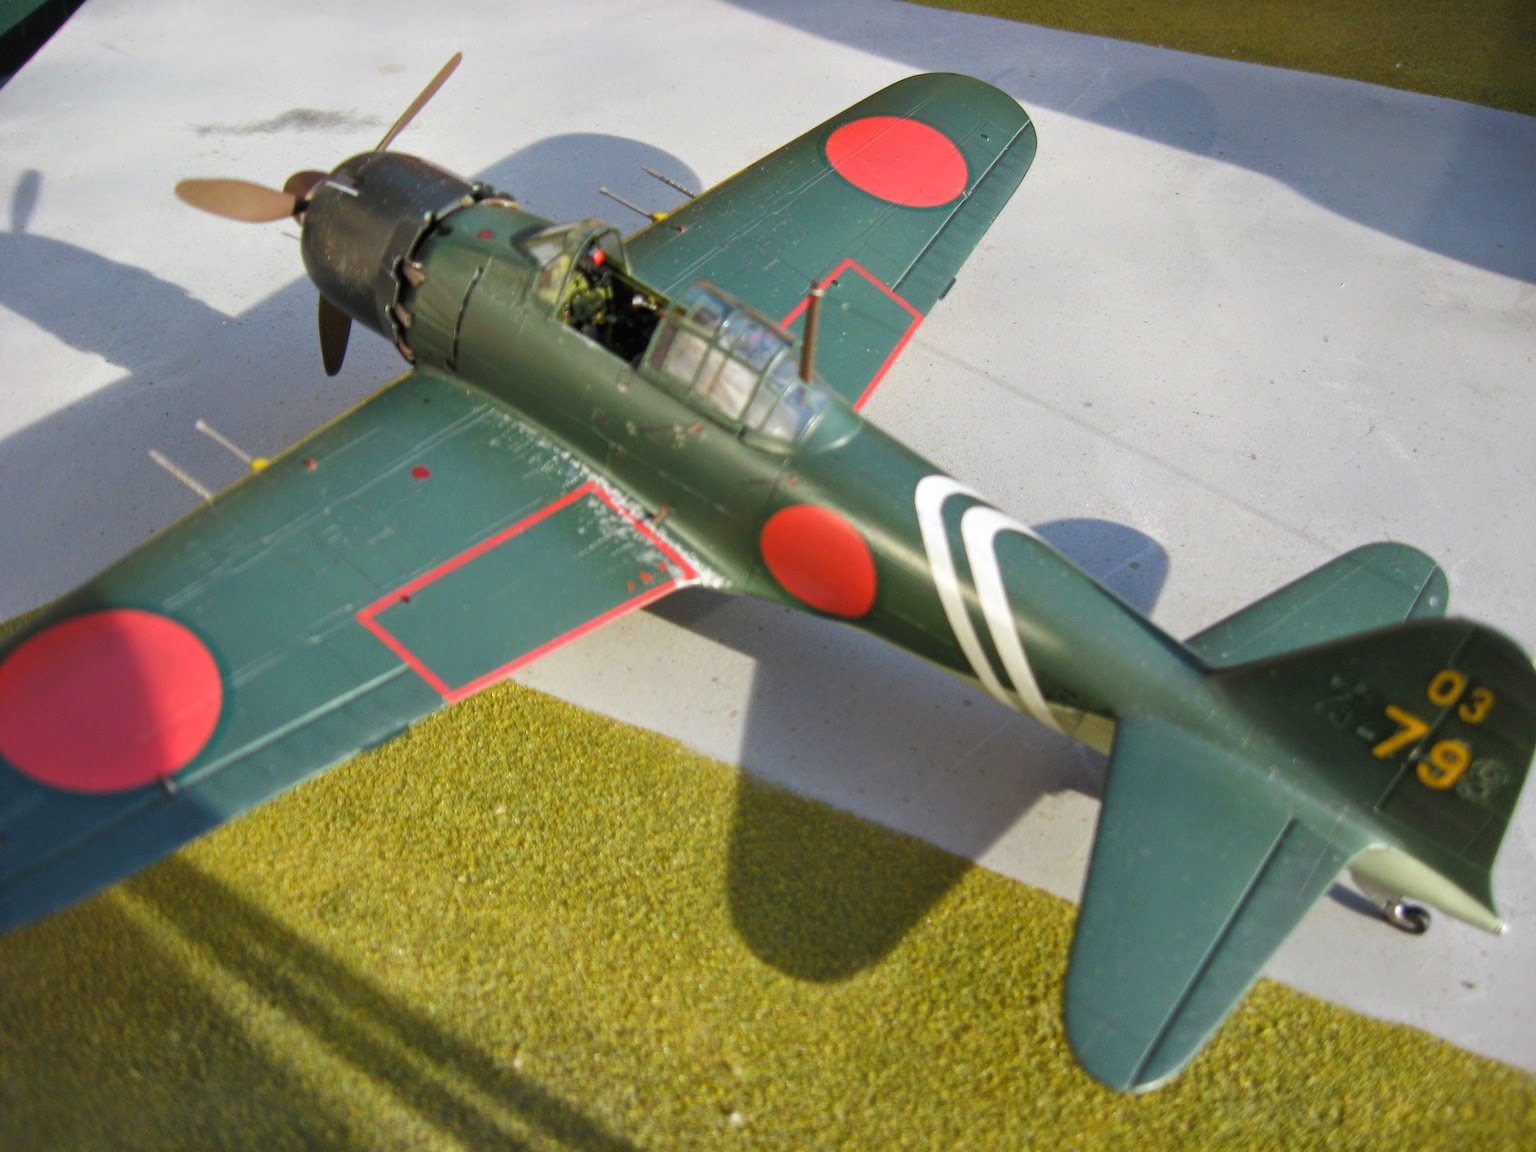
The kit is cleanly moulded and of straightforward construction with 48 parts including a one piece canopy and standing pilot figure. The current issue is moulded in pale grey plastic with fine raised panel lines but I cannot now remember whether the first issues were the same or moulded in dark green. There is no engine as this is hidden behind the forced cooling fan which is moulded integrally with the forward cowling. I hardly dare mention the interior as being adequate this time, but it consists of a floor with integral side consoles, a rear bulkhead with additional parts, a seat, separate control stick, instrument panel and separate transparent armoured glass panel. The instrument panel is plain with two decals to  represent the instruments. The radio equipment on the shelf behind the rollover frame is moulded integrally with the  fuselage halves - perhaps one of the weakest aspects of the kit. The fuselage sidewalls have some basic rib detail and the wheel wells are boxed in and detailed. Expectations about interior detail have moved on but for its time this was wondrous. Current price direct from Japan is around £7. It is still an excellent kit for escaping modellers block, trying out painting techniques - or even for a bit of home made super detailing.


The Otaki Raiden in 1/48th scale was released as OT 2-9 in the mid 1970s but is also still available in the Arii Microace series for less than £4 direct from Japan. This is a bargain because the finished model captures the pugnacious stance of the aircraft very well. The Tamiya and Otaki kits as built can be compared here. The first issue box art showed a  lightning bolt adorned Raiden with the odd tail code KD-37 diving down through a formation of B-29s. It was moulded in dark green plastic and included engine parts. The surface finish is typical Otaki with a proliferation of engraved rivets  and engraved panel lines but finely rendered. As well as 'KD-37' optional markings were provided for 32-101 flown by NAP 1/C Akashi Ochi of the 332nd Ku which operated the Raiden in Homeland air defence duties from Naruo and Kanoya and ヨD-1195. Ochi claimed the unit's first victory over a B-29. 


Later versions of the kit were moulded in light grey and had different box art, by Rikyu Watanabe,  featuring ヨD-1190 of the 302nd Ku climbing hard after a distant formation of B-29s as smoke rises billowing from their handiwork below. Like the Tamiya kit the later Otaki kit contained a sheet of colour profiles featuring two of the three decal options provided, the third being the box art subject. 352-37 featured again, as well as ヨD-1183 which was one of the aircraft fitted with an oblique-firing 20mm cannon in the lower starboard fuselage above the wing root.


Neither the Tamiya nor Otaki/Arii kit approach Zoukei-mura expectations, or even come close to the more recent Hasegawa kit. Perhaps they are best approached as 1/72nd kits that happen to be to 1/48th scale - straightforward builds that can be enhanced to taste or simply enjoyed for what they are.


In terms of up to date references for Raiden the 2011 Model Art Profile (above) is excellent but all Japanese text, whilst the 2013 Zoukei-Mura 'Concept Note' book (below) intended to support the building of their superlative 1/32nd scale kit, will be useful to anyone serious about building a Raiden in any scale, especially if planning to add cockpit and other interior details. It has dual language text and  features an illuminating walk-around of the surviving Planes of Fame example linked to the kit details with many explanations as well as three step-by-step builds by expert modellers.


The Gakken coverage of Raiden, # 29 in the series (below), follows their standard format, with 3D cgi images of the aircraft, a photo section with very clear images of the prototypes, exhaustive coverage of the engine and fold out plans to 1/48th scale. But perhaps the most impressive feature is a comprehensive collection of very clear colour photographs of the Planes of Fame example taken outside under bright sunlight and with various panels removed. Complementing those is a large fold out colour photograph providing a pilot's eye view of the cockpit. There are also large close-up colour images of the cannon armament, top, bottom and both sides. The downside to this excellent book for Western modellers is that it is Japanese language only and being discontinued quite difficult to obtain.


The 1996 Bunrin-Do FAOW # 61 (below) is also useful, especially for its photographic coverage of actual aircraft in service, careful study of which will pay dividends in approaching details like paint wear, weathering and spinner colours. 


For Raiden fanatics the 1996 Model Art # 470 (below) should not be discounted as it also contains much useful detail and is worth looking out for as it  still appears second hand on eBay.


Finally there is a 2004 yellow series Mushroom Model Magazine Special by Robert  Peczkowski (below) now also available in Kindle which runs through the sub-types nicely and benefits from an English language text. It also has a fine collection of 34 inspiring colour profiles by Zygmunt Szeremeta.


I was going to include some colour chips and notes on Raiden colour schemes here but the format for that is perhaps better served by a separate dedicated pdf, which will be available on request.

Image credits: Kit box art © Tamiya; © Arii; Book covers © 1996 & 2011 Model Art; © 2013 Zoukei-Mura; © 1996 Bunrin-Do; © 2004 Mushroom Model Publications

Wednesday, 21 January 2015

Danilo Renzulliu's Yellow Bird - Hasegawa 1/72 A6M2 Zero


Danilo Renzulli very kindly sent these images of his stunning Hasegawa 1/72 Mitsubishi A6M2 Zero finished as カ-103 of the Kasumigaura Kokutai in overall trainer yellow. Danilo added a few details to the cockpit and positioned the canopy open contrary to his usual practice as he thinks an open canopy breaks the lines of an aircraft. The sliding and rear sections of the canopy were taken from the Tamiya kit as he had spoilt the original.


Danilo used Humbrol paints and notes that the orange yellow is a warmer shade than it appears in the photos here. From the photos he studied it looked as if the inner side of the wheel covers was the same as the external color, so he painted them orange yellow as well. The prop was painted with Alclad aluminium. The tail code was made up from different decal sheets and the 'no step' red lines are transfers.


Danilo added the position lights on the wings by drilling a small hole filled with Kristal Kleer liquid - once the first drop had dried he added a second one to build the profile. He then painted the drops with diluted acrylics. The Hinomaru were masked and airbrushed. Danilo did not apply any protective varnish as he had discovered that rubbing a cotton bud dipped in rectified petroleum over the paint surface gave it a slightly gloss finish. 


The model was painted more than once as Danilo had some problems applying the enamels. At first he airbrushed the model with no primer coat and this resulted in a very greenish orange hue due to the kit's grey plastic. Preserving the interior painting in the process of  paint removing wasn't so easy!


The colours of カ-103 have been variously interpreted in profiles, kits and models. The aircraft was re-painted as B-103 to participate in a wartime movie about the Pearl Harbor attack and the colour has been reported from memory as 'grey' (gurei -グレイ) but it is not confirmed. 

Image credits: All model photos © 2015 Danilo Renzulli

Sunday, 18 January 2015

Bill Gilman's 1/72nd PB4Y-1


Still on the subject of older kits, Bill Gilman, prompted by Mark Smith's Zero, very kindly sent me these images of his 1/72nd PB4Y, built, incredibly, from the rivet encrusted Revell kit of 1965, a veritable Gramps in plastic. A PB4Y, here? you ask. Well yes I say, offering the excuse that Bill's model provides a neat visualisation of the aircraft flown by Gordon Forbe's characters, a previous diversion in this place, if somewhat tenuously as it  replicates an Atlantic rather than Pacific prowler.


The efforts Bill went to in order to turn out this beauty are logged here and here, also providing a real good look at the places occupied by Lt j.g. Carl Iverson and other crew members of VPB-400 in those long, dangerous patrols - as well as open mouthed admiration for Bill's attention to detail.


If the definition of a successful model is imparting the inspiration to go out and buy the same kit in the naive aspiration of being able to duplicate it, then Bill's PB4Y is an unqualified success.


Image credits: Model photos © 2015 Bill Gilman; Box art Revell

Sunday, 11 January 2015

In Praise Of Older Kits


Long time correspondent Mark Smith very kindly sent me these images of his 1/48th scale Tamiya Mitsubishi A6M5c Zero in an email with the blog heading. This kit dates from 1983 but is still available direct from Japan at the princely sum of around £8 and falls firmly into the category of an oldie but goodie (is it really 32 years?).


The A6M5c (and similar A6M3 Model 32) marked a steady progression from some of the more toy-like features of Tamiya's earlier 1/50th kits, often with rather heavy detail, 'robust' working features and motorisation, beginning with the new generation 1/48th scale A6M2 released in 1973. The Matchbox 1/72 A6M2 was released around that same time and notwithstanding the scale differences they are like chalk and cheese in terms of accuracy and fidelity of shape.


Mark wondered when he first saw it how it could be any better, as it set new standards on so many levels, and really captured subtleties of contour and detail in new ways for a Zero model. The model has a Squadron vac form canopy and a few extra details here and there – but not much. This kit was reviewed against contemporaries in a  survey of Zero kits  by Peter Fearon in the December 1991 issue of the British Scale Models magazine. He noted that detail changes from the A6M3 had been correctly incorporated, criticised only the lack of a transparent armoured glass panel behind the cockpit and considered that it was:-

"Another outstanding kit, showing evidence of thorough research, as well as excellent standard of manufacture."


Original 1983 box art

Anyone not afflicted with 'latest tooling' snobbery who doesn't believe that any kit older than he is must be a 'POS' will find this an enjoyable build and a great way to practice techniques without worrying too much about the pennies or cents - or all that resin and photo-etch. The kit comes with no less than seven markings options and Mark's model represents an aircraft of the 203rd Kokutai based at Ohmura during the air defence of Japan in 1945. Mark expressed the wish to see more older kits here and build reports of kits old or new here. Me too!

Image credits: Model photos © 2015 Mark Smith; Box art © Tamiya, Inc.  


Wednesday, 7 January 2015

ICM 1/72 Polikarpov I-15bis ~ New Tool


It is always a delight to be able to feature a Chinese aviation subject at this blog and 'Old Man' has very kindly given permission to showcase these images of his convincing build of the new tool ICM 1/72nd Polikarpov I-15bis, as well as providing detailed and useful notes about the project for anyone contemplating making this kit. The I-15bis formed the bulk of Soviet supplied aircraft to Nationalist China, with no less than 389 provided from 1938 onwards. By November 1941 there were still at least 20 in Chinese service within four operational squadrons and two training units, the Soviet biplane surviving into 1942. In his own words then:-

"If you want a model of a Polikarpov I-15bis in 1/72, ICM is the only game in town. This is their current offering ('new tool'); an earlier 'old tool' version can still be had second hand, and is not a bad kit itself, though the 'new tool' is superior. I have built both.

ICM New Tool box art
ICM Old Tool box art

"The only real problem, and this is with both versions, is strut length. The lengths of the interplane and cabane struts do not match: if you do the cabanes first, the interplanes will be short, and if you do the interplanes first, the cabanes will be too long. The gap is a bit too narrow between the fuselage if you build to the interplanes, and a bit too great if you build to the cabanes. The relevant pieces in the new kit are exactly the same size as in the old kit - I have laid them atop one another. What is needed is to add about a half millimeter to the interplanes, assemble to the interplanes, and make your own cabanes out of strip. This build was part of figuring this out, and was built to the interplanes, with scratch-built cabanes; I had to do some tweaks, sanding a few hairs off the headrest and the area in front of the cockpit and the base of the windscreen.


"I assembled the lower wing to the upper wing by the interplane struts, and then attached this as a unit to the fuselage. This makes it easier to do the seam-work where the interplanes mate to fairings moulded on the wings. Careful (and patient) test-fitting of the mating surfaces of the lower wing to the fuselage can get you an excellent joint at the wing-roots, and a good fit at the belly; this should be done with the fuselage halves held together tightly.

"The kit provided accurate interior detail (the old one, not so much), but the structural frame-work provided is very fragile, and you you will be better off using it as a model to prepare your own pieces out of plastic rod, or wire of 0.5mm diameter. Attach the MG breeches to the fuselage sides and not to the floor piece. The barrels should touch the 'ear' pieces intended to anchor the fuselage frames in front. To get the instrument panel to fit properly, you will have to sand away the upper outer corners of the MG breech backs on the piece. Set the seat well back in the floor piece; its upper portion should fit in the headrest opening. The floor and seat assembly can be added/adjusted through the gap where the lower wing goes. 


"In assembling the nose, I left out the engine and associated bits. They do not fit, will not be seen, and do not really help in attaching the cowling. Assemble the cowling pieces (top, sides, and bottom) to the front ring piece. Cut a circle of thin sheet (I used 15 thou) to match the interior diameter of the cowling, and seat it against the step provided inside by the ring piece. Paint it black in front and put on the face plate. Next, cut a square or circle equal or a bit larger than the diameter of the open nose of the fuselage; one thick piece or a couple of thinner ones, it should be a bit over 1mm thick total. Glue this either to the nose, or to the back of your blanking plate in the cowling (paint the thing black or you might see white through the cockpit opening). Doing this will provide a solid seating for the cowling, at an appropriate position, with rear edges clear of the fuselage. The large and small pipes will settle into grooves provided in the fuselage pieces. In finishing the exterior of the cowling (before attaching it to the fuselage, obviously) do not bother trying to preserve the surface detail. Sand it smooth and replace with striping tape or strips of foil tape or even decal film. Note that the rear of the cowling overlaps the forward cabane legs, and is notched for this; these notches did not fit my cabanes, and I had to fill them, and put new notches in, a bit nearer the center-line on each side. 

"Color was mixed from PollyScale paints - 3 parts British Dark Green, 2 parts RLM 81 Brown Violet and 1 part IJA Light Grey. PollyScale is not made anymore now that Testor's bought them out, but the colors are still available in their Model Master acrylic line and seem about the same - the IJA grey as 'light blue grey'. Once the base color was applied, I lightened it a little with a pale buff and went over fabric surfaces, and darkened it a little with black, and went over metal surfaces. I then applied several washes of the brown-violet and of olive drab, wiping or blotting them shortly after application, and then going over the surface with a 3000 grit polishing pad before the next was applied. I dilute my paints with Future, which eliminates brush-strokes, and toughens the paint up a bit to boot, and generally apply over a white primer coat. Coverage takes two or three coats, and each gets the polishing pad treatment.

"The 'brown violet' is an odd tone, close to burnt sienna. Something pretty similar to it can be got by mixing black into the reddish browns sold as 'leather' and such. I suppose the gist of the mix is adding some red and black and white to a slightly olive dark green, in the forest green or hooker's green family.


"The model is intended to represent a late service machine of the 21st Pursuit Squadron at Chungking, in the '39/'40 period. My understanding is that while these were supplied in Soviet colors, refurbished or overhauled machines emerged to Chinese standard. At the start the Chinese marked squadron number and individual number very large in white on the fuselage, but over time this prominent marking tended to dwindle, and the 21st put it identity indication very small on the rudder. Decals on this are an improvisation. I started out using markings from an old ICM I-15bis kit, but once on they looked too pale. Wife made some darker blue suns which I applied over the original decals, and a swatch of the same blue, which I cut strips from and applied on the rudder. The ID number is dry-transfer applied to clear film, and then sealed and applied. The white serial indication is pirated from an Airfix P-40b; it is not accurate of course but is too small to read in the scale anyway, which is accurate. I have since acquired a Bestfong decal sheet with many markings for Chinese Polikarpovs of all types, and this includes some runs of the tiny serial numbers in white. I am looking forward to using it, especially now that ICM has put out a kit of the I-153."

With thanks to 'Old Man' for images and description.

Image credits: All © 2015 'Old Man'


Monday, 5 January 2015

John Haas' Mauve Rufe


To kick off 2015, John Haas very kindly sent me these images of his 1/48th scale Tamiya Nakajima A6M2-N in 'Purple Rufe' guise.


The model is over forty years old as John had bought and built the kit when Tamiya first released it, circa 1973.  After reading a few references on this blog to the infamous 'Purple Rufe' John was curious to find out what condition the model was in after all those years and found it surprisingly good ! 


John brush painted it with Humbrol Authentic HJ4 N.9 Mauve on the upper surfaces. The undersite is in a normal light grey. On removing the coating of dust, John found the paint still in excellent condition. After cleaning and a little makeover he took these photographs to see how it looked. John still likes this model which he built straight from the box, considering that Tamiya made very good kits even then. 


Humbrol's Japanese Mauve (which incidentally is almost a perfect match for the wartime RAF's rare  PRU Mauve colour) had its origin in the 1964 IPMS Colour Guide for Japanese Aircraft 1941-45 described in the article linked above. The colour was based on written descriptions in Koku-Fan magazine and other Japanese sources referring to it as 'Wisteria'. Was it real? Probably not and more likely just the fleeting visual effect of a very heavily oxidised and worn amber-grey topcoat over the red oxide primer colour. But it is undoubtedly a classic in the pantheon of Zero mythology and no less justifiable as a modelling subject than all those 'white' Zeros still being churned out. If ever the imperative for a model is the opportunity to paint it a beautiful colour then the Purple Rufe must lead the field. A more challenging prospect might be to reproduce a similar effect by weathering the original colours.


Methuen describes Mauve as the colour of an organic dye produced by Perkin in 1868, of a pale purple hue and considerably bluer than Mallow (Purple), as named after the Mallow plant (Lavatera arborea) a herbaceous plant of the Hibiscus family. Methuen put Mauve at 15 B 5 and Purple at 15 A 8 but acknowledge that the latter name covers a range of strong colours between purplish red and reddish violet. Violet is considered to be in a range of strong colours in transition between red and blue, pinned at 17 A 8 but covering 17 A-C 6-8. Wisteria is typically a pale shade of Lavender Blue which Methuen place at 18 B 3. Anyone viewing those colours in reference to a Purple Rufe or searching under the generic colour names online is likely to be misled by their brightness and strong saturation. Humbrol's Mauve is a subtle, duller and more greyish colour than its closest FS595 comparison 27160 for example, and a little paler than RAL 4011 Perlviolett which is inconveniently pearlescent. Unfortunately it is no longer in the Humbrol range but can be mixed from the ratio 7 x 94 Matt Brown Yellow, 7 x 34 Matt White, 6 x 25 Matt Blue and 3 x 60 Matt Scarlet. I haven't tried it . . . 

Humbrol HJ4 N9 Mauve vs FS 27160

The Mallow flower (Purple)

The 2006 'Aleutian Islands' release of the 1/48th scale Hasegawa A6M2-N suggested a colour scheme of 90% IJN Grey and 10% Purple for Rufe '01-105' of the Toko Ku as featured on the box art (below). The 2011 'Combo' release of their 1/72nd scale kit in the same markings repeated this suggestion.


Did such colours exist within IJN paint standards? Well, sort of. E3 in the Kariki 117 Ao iro (青色 - blue colour) set has been conflictingly compared to both Munsell 2.5 PB 5/6 and 10 B 5/2 whilst G1 Sumire iro (菫色 - violet colour) has been compared to Munsell 7.5 PB 3/4. The uses for which those colours were intended is unknown. None of them really match Wisteria but if you squint and think of the red primer . . . (only joking).

E3 - Munsell 2.5 PB 5/6 vs 10 B 5/2

G1 - Munsell 7.5 PB 3/4 vs FS 35056


With thanks to John for kindly contributing the photographs.

Image credits: All model photos © 2015 John Haas; Mallow photo via Wiki; Colour chips © 2015 Aviation of Japan